【Bluehost】【MySQL】MySQL新增一個資料庫跟使用者
最後更新日期:2024年08月31日
流程:
- 建立一個新的資料庫
- 建立 MySQL 使用者
- 加入 MySQL 使用者到新的資料庫
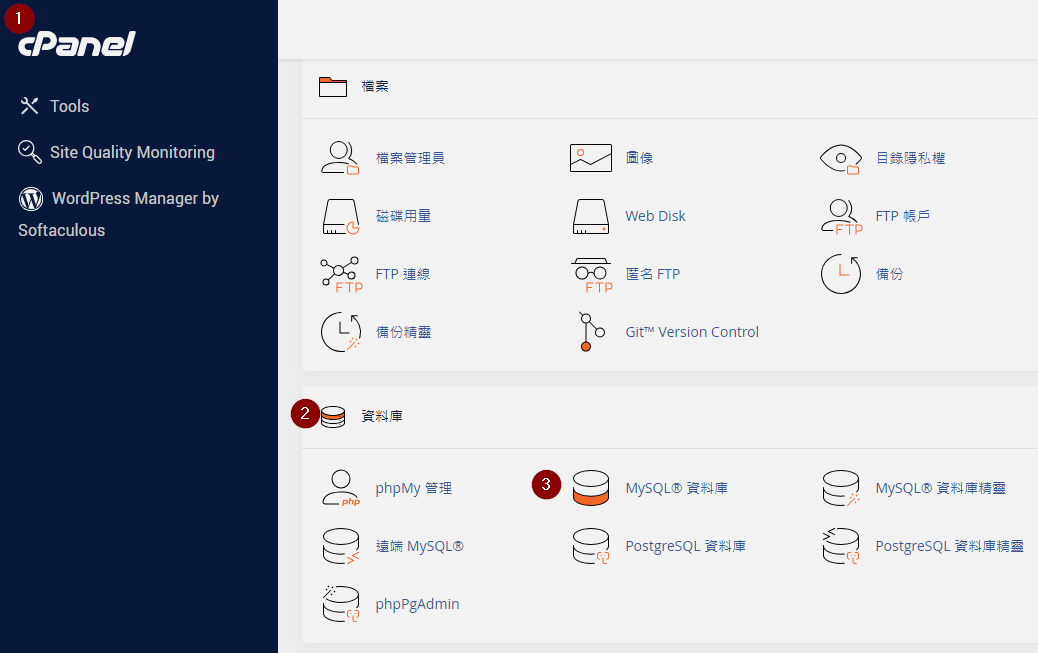
新增資料庫
cPanel > 資料庫 > MySQL®資料庫
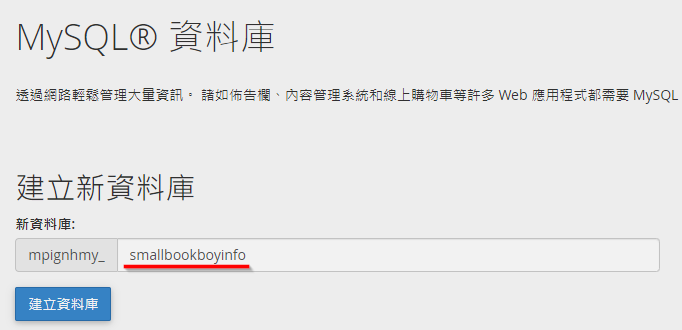
輸入新資料庫名稱 > 點擊「建立資料庫」
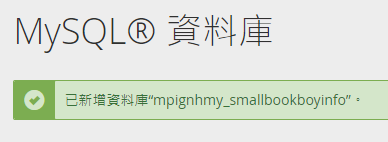
新資料庫建立成功!
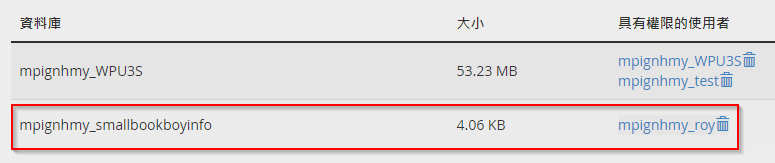
會出現在下方

這時,資料庫還沒有任何使用者,
因此,我們要開始把使用者加進來~
加入 MySQL 使用者
下方的 MySQL 使用者,輸入使用者名稱、密碼 > 點擊「建立使用者」
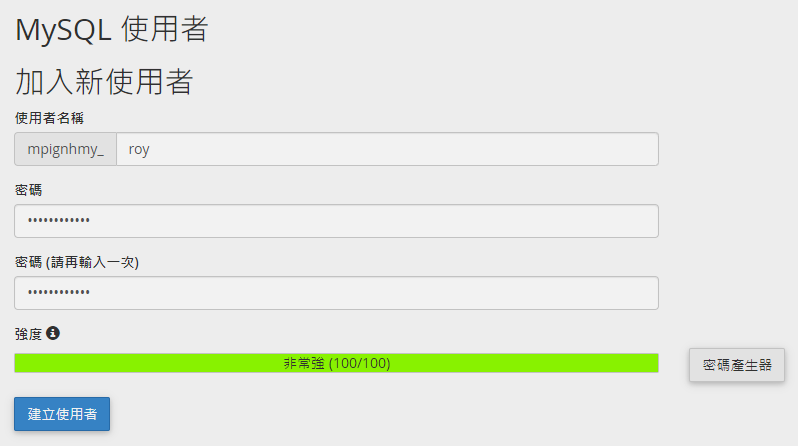
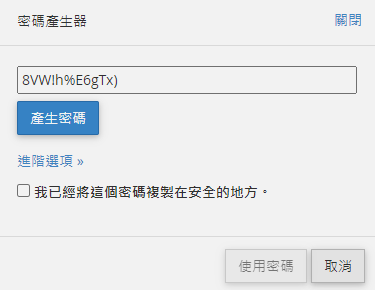
也可以透過右下方的密碼產生器產生密碼哦!
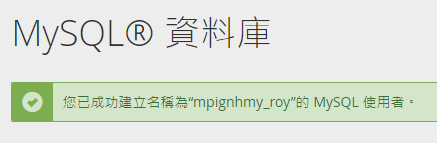
MySQL 使用者建立成功!
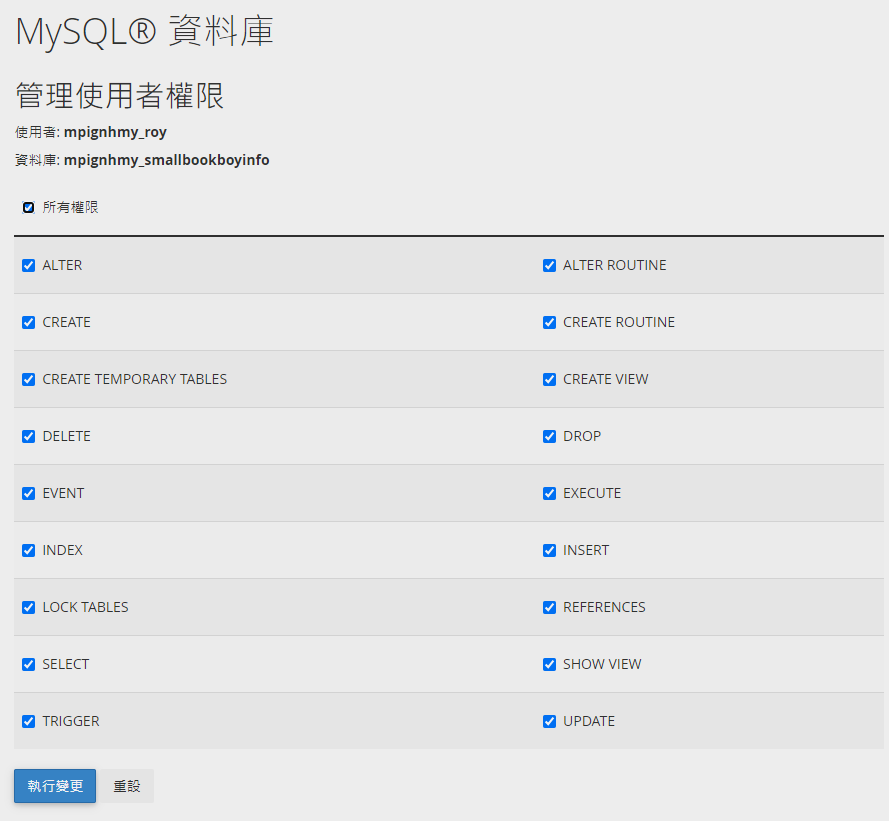
新增使用者到資料庫
選擇想要加入的使用者 > 想要加入的資料庫 > 點擊「新增」

管理使用者權限 > 點擊「執行變更」
這裡是在說這個使用者有哪些角色權限,例如: 只能查詢、新增資料等等,也可以直接全選

再回到目前資料庫查看,就可以看到資料庫跟使用者囉!