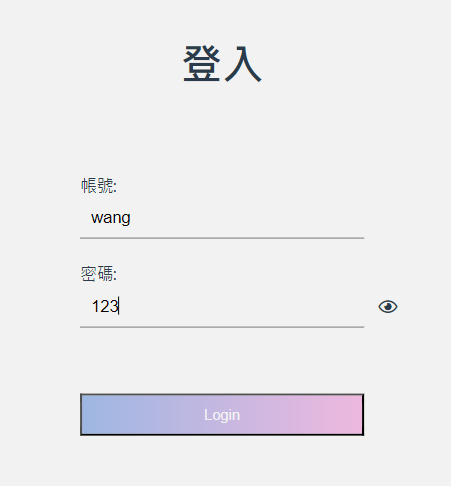
【Vue3】點擊眼睛 icon 顯示/隱藏密碼(How to show/hide password icon in Vue)
最後更新日期:2024年10月02日
顯示眼睛 icon


url: https://fontawesome.com/v5/icons/eye?f=classic&s=solid

url: https://fontawesome.com/v5/icons/eye-slash?f=classic&s=solid
需要先註冊 font awesome 的 library,並 import,
可參考這篇 [Vue] Vue 如何使用 Font Awesome ? 安裝,註冊
在密碼輸入框旁邊顯示眼睛
template
<div>
  <label for="password">密碼:</label>
  <input type="password" class="input-item" v-model="password" required />
  <i id="pinUpEye" class="fas fa-eye"></i>
</div>
style
/*固定眼睛 icon 位置*/
#pinUpEye{
  position: absolute;
  top: 55%;
  right: 20px;
  transform: translateY(-50%);
}

眼睛就出來啦!
切換眼睛 icon
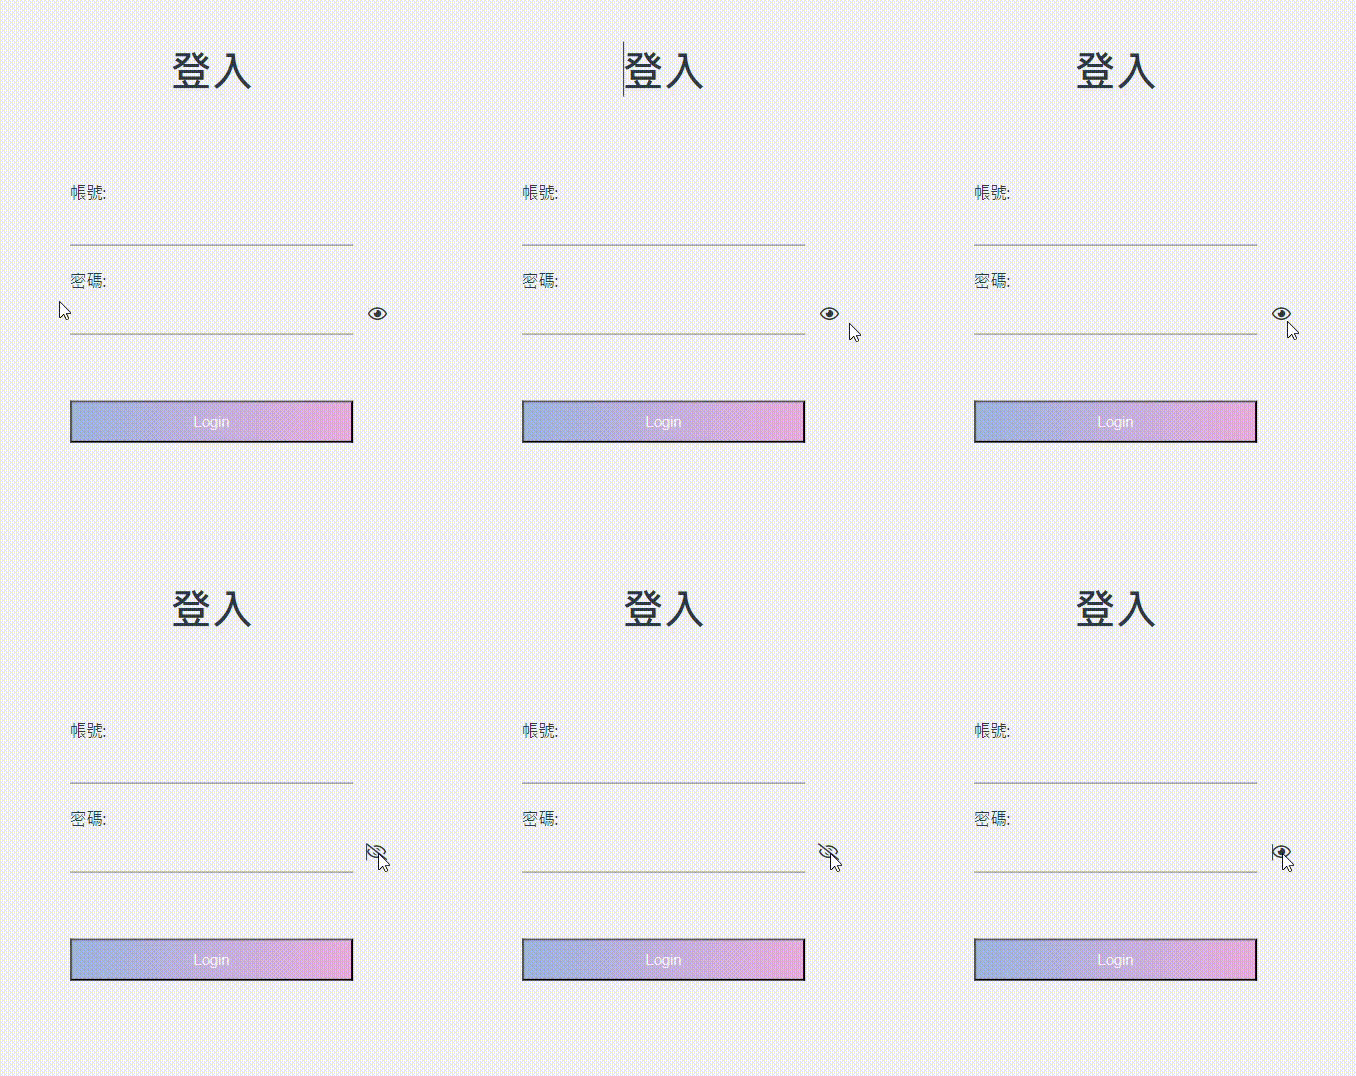
接著,我們要來做點擊 icon 時,icon 會自動變成打開眼睛或閉上眼睛的 icon,
要先知道一件事,就是該怎麼改變 icon呢?
很簡單,想像有一個流程,點擊,切換,
那點擊的話,就是要在 icon 加上 @click,
接著我們會宣告一個 boolean 變數,去觀察是否點擊,
最後,icon 會隨著 boolean 變數值替換 icon 的 class name,進而改變 icon。
<template> 在 icon 加上 @click
<i id="pinUpEye" @click="isActive=!isActive"></i>
<script> 宣告一個 boolean 變數
import { ref } from 'vue'
const isActive = ref(false);
在 icon 使用三元運算方式,改變 class name
<i id="pinUpEye" :class="[isActive ? 'fa-eye' : 'fa-eye-slash' , 'fas']" @click="isActive=!isActive"></i>
程式碼
<template>
  <div class="container">
    <div class="login-wrapper">
      <link rel="stylesheet" href="https://pro.fontawesome.com/releases/v5.10.0/css/all.css"/>
      <div class="header">登入</div>
        <div class="form-wrapper">
          <label for="username">帳號:</label>
          <input type="text" class="input-item" v-model="username" required />
        </div>
        <div>
          <label for="password">密碼:</label>
          <input type="password" class="input-item" v-model="password" required />
          <i id="pinUpEye" :class="[isActive ? 'fa-eye' : 'fa-eye-slash' , 'fas']"  @click="isActive=!isActive"></i>
        </div>
        <button @click="login" class="btn">Login</button>
    </div>
  </div>
</template>
<script lang="ts" setup>
import { ref } from 'vue'
import axios from 'axios';
import { useRouter } from 'vue-router';
let username: ''
let password: ''
const router = useRouter()
const isActive = ref(false);
function login() {
  try {
    const response = axios.post('/api/hello', {
      username: username,
      password: password,
    }, {
      headers: {
        'Authorization': `Basic ${btoa(`${username}:${password}`)}`,
      },
    });
    console.log('Login successful', response);
    // 跳轉到首頁
    router.push('/');
  } catch (error) {
    console.error('Error logging in', error);
  }
}
</script>
<style scoped>
/* Add your styles here */
.login-wrapper {
    background-color: #fff;
    width: 358px;
    height: 588px;
    border-radius: 15px;
    padding: 0 50px;
    position: absolute;
    left: 50%;
    top: 50%;
    transform: translate(-50%, -50%);
}
.header {
    font-size: 38px;
    font-weight: bold;
    text-align: center;
    line-height: 200px;
}
.input-item {
    display: block;
    width: 100%;
    margin-bottom: 20px;
    border: 0;
    padding: 10px;
    border-bottom: 1px solid rgb(128, 125, 125);
    font-size: 15px;
    outline: none;
}
.input-item:placeholder {
    text-transform: uppercase;
}
.btn {
    text-align: center;
    padding: 10px;
    margin: 0 auto;
    width: 100%;
    margin-top: 40px;
    background-image: linear-gradient(to right, #a6c1ee, #fbc2eb);
    color: #fff;
}
.msg {
    text-align: center;
    line-height: 88px;
}
a {
    text-decoration-line: none;
    color: #abc1ee;
}
/*固定眼睛 icon 位置*/
#pinUpEye {
  position: absolute;
  top: 55%;
  right: 20px;
  transform: translateY(-50%);
}
</style>
效果

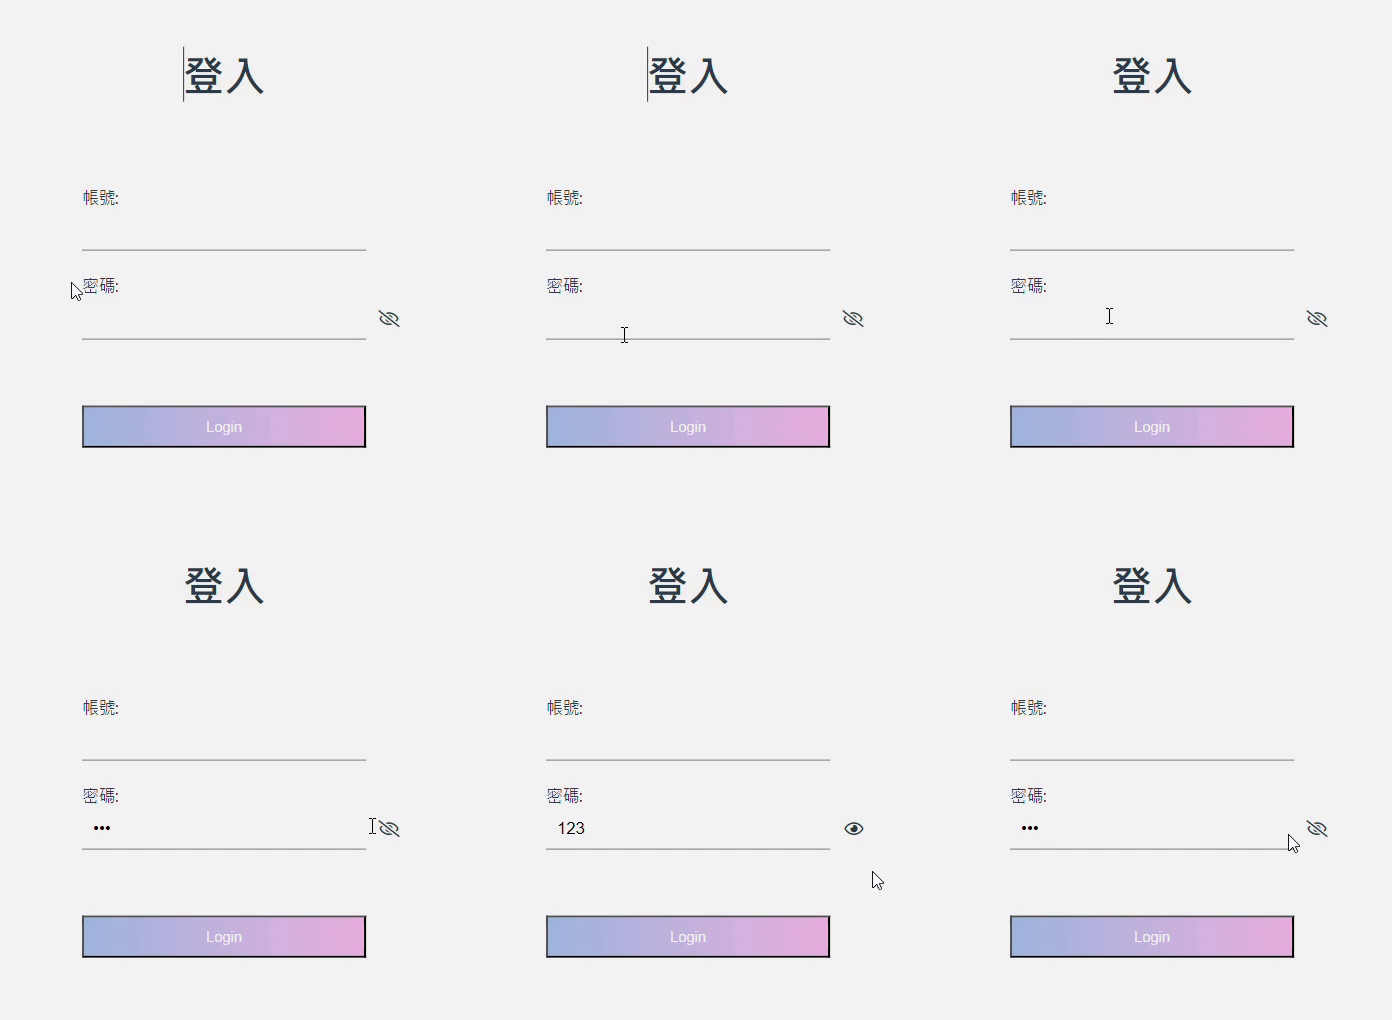
使用 watch 監視 isActive變數,顯示/隱藏密碼
<template> 先在密碼輸入框加上 id='inputPassword'
<input id="inputPassword" type="password" class="input-item" v-model="password" required />
<script> 使用 watch 監視 isActive變數,如果為 true,則顯示密碼,反之,隱藏密碼
// Watch
watch(isActive, ()=>{
  const inputPassword = document.getElementById("inputPassword");
  if(isActive.value === true){
    inputPassword?.setAttribute('type','text'); // 顯示密碼
  } else {
    inputPassword?.setAttribute('type','password'); // 隱藏密碼
  }
})
程式碼
<template>
  <div class="container">
    <div class="login-wrapper">
      <link rel="stylesheet" href="https://pro.fontawesome.com/releases/v5.10.0/css/all.css"/>
      <div class="header">登入</div>
        <div class="form-wrapper">
          <label for="username">帳號:</label>
          <input type="text" class="input-item" v-model="username" required />
        </div>
        <div>
          <label for="password">密碼:</label>
          <input id="inputPassword" type="password" class="input-item" v-model="password" required />
          <i id="pinUpEye" :class="[isActive ? 'fa-eye' : 'fa-eye-slash' , 'fas']"  @click="isActive=!isActive"></i>
        </div>
        <button @click="login" class="btn">Login</button>
    </div>
  </div>
</template>
<script lang="ts" setup>
import { ref, watch } from 'vue'
import axios from 'axios';
import { useRouter } from 'vue-router';
let username: ''
let password: ''
const router = useRouter()
const isActive = ref(false);
function login() {
  try {
    const response = axios.post('/api/hello', {
      username: username,
      password: password,
    }, {
      headers: {
        'Authorization': `Basic ${btoa(`${username}:${password}`)}`,
      },
    });
    console.log('Login successful', response);
    // 跳轉到首頁
    router.push('/');
  } catch (error) {
    console.error('Error logging in', error);
  }
}
// Watch
watch(isActive, ()=>{
  const inputPassword = document.getElementById("inputPassword");
  if(isActive.value === true){
    inputPassword?.setAttribute('type','text'); // 顯示密碼
  } else {
    inputPassword?.setAttribute('type','password'); // 隱藏密碼
  }
})
</script>
<style scoped>
/* Add your styles here */
.login-wrapper {
    background-color: #fff;
    width: 358px;
    height: 588px;
    border-radius: 15px;
    padding: 0 50px;
    position: absolute;
    left: 50%;
    top: 50%;
    transform: translate(-50%, -50%);
}
.header {
    font-size: 38px;
    font-weight: bold;
    text-align: center;
    line-height: 200px;
}
.input-item {
    display: block;
    width: 100%;
    margin-bottom: 20px;
    border: 0;
    padding: 10px;
    border-bottom: 1px solid rgb(128, 125, 125);
    font-size: 15px;
    outline: none;
}
.input-item:placeholder {
    text-transform: uppercase;
}
.btn {
    text-align: center;
    padding: 10px;
    margin: 0 auto;
    width: 100%;
    margin-top: 40px;
    background-image: linear-gradient(to right, #a6c1ee, #fbc2eb);
    color: #fff;
}
.msg {
    text-align: center;
    line-height: 88px;
}
a {
    text-decoration-line: none;
    color: #abc1ee;
}
/*固定眼睛 icon 位置*/
#pinUpEye {
  position: absolute;
  top: 55%;
  right: 20px;
  transform: translateY(-50%);
}
</style>
效果

參考資料
Facebook: 小書僮 Facebook
如果覺得有幫助到你的話,也歡迎在下方留言告訴我哦^^
One Reply to “【Vue3】點擊眼睛 icon 顯示/隱藏密碼(How to show/hide password icon in Vue)”